Removing the Trigger Components
As we've seen, there are 3 Trigger bars and 1 Safety Catch Baulk Piece. All these components are held in place by steel pins which are an interference fit into drillings in the alloy frame of the rifle. These pins will need to be 'drifted' out using a small hammer and a suitable parallel punch, however you need to know that these pins are 'mushroomed' at one end so that they grip tightly when driven into their respective drillings. Because of this they should be removed so that the mushroomed end is not driven through the frame, thus enlarging the drillings. Therefore, the correct direction in which to drive them out must be ascertained.
With the rifle inverted and looking at the underside of the frame as shown, the correct direction in which to drift the pins is from Left to Right. This will ensure that the mushroom heads of the pins emerge from their drilling without causing damage. However this may not be the case with YOUR rifle as the pins may have been previously removed. Therefore close inspection of the pins before commencing withdrawal will reveal the correct direction as the mushroomed heads have tiny irregularities which the opposing end doesn't have. Tap on the non-irregular end.
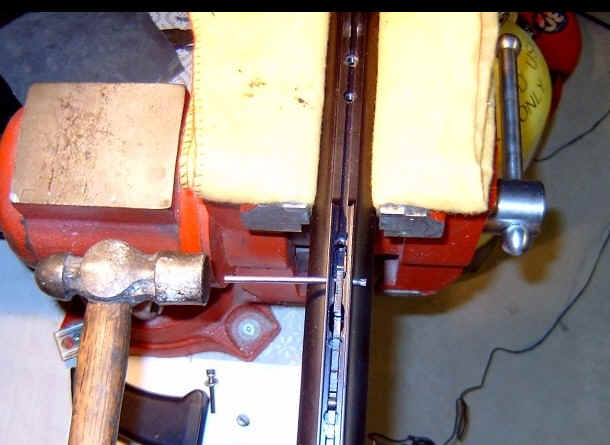
If you look closely at the photograph you will clearly see the 'mushroomed' head of the pin being removed here
Each of the Trigger components is held by 1 pin, with the exception of the Safety Baulk Plate which is held by 2.
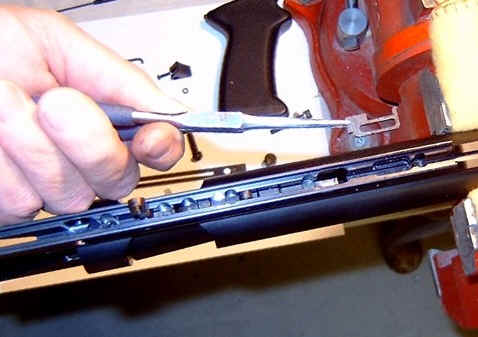
Carefully remove each of the pins in sequence and then withdraw the Trigger Group components as they are freed.
Shown (left) is the Safety Baulk Piece being withdrawn from the rifle frame.
Once disassembled you should have something closely resembling this
Note: Shown here is the later type of safety catch.
Reassembly
Reassembly is, quite literally, the reverse of the dismantling process. Ensure total cleanliness of all components and apply a little gun oil to the trigger components as they are reassembled.
When reintroducing the Mushroom Pins that secure the Trigger Group, ensure they are inserted correctly with the non-mushroomed end going into the drilling first. When tapping the pins home it is advantageous to support the rifle frame on a suitable block to give a solid support while tapping.
IMPORTANT Before use, thoroughly check the operation of the Safety Catch and Trigger mechanisms ensuring that the sear is safely held at all times.