Removing the Trigger Shoe
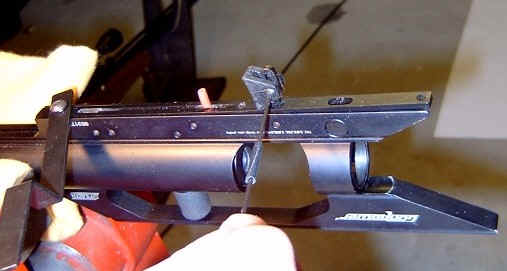 This
is held in place by a small machine screw which engages with a small nut
recessed into the plastic body of the shoe.
This
is held in place by a small machine screw which engages with a small nut
recessed into the plastic body of the shoe.
Using a hexagon key, undo the securing screw being careful to catch the small nut as it is forced from its recess.
DO NOT DROP THIS NUT - IT HAS A STRONG HOMING INSTINCT AND WILL TRY TO MAKE ITS WAY BACK TO THE FACTORY FROM WHENCE IT CAME! YOU HAVE BEEN WARNED!!
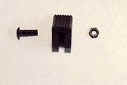
The 3 Trigger Shoe components are shown below actual size.
Opening the Trigger Housing
 WARNING!
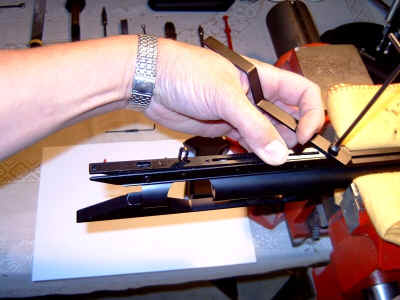
The next step involves removing the Trigger Cover Plate
which restrains 5 small springs, any of which could jump out if care is not
exercised.
WARNING!
The next step involves removing the Trigger Cover Plate
which restrains 5 small springs, any of which could jump out if care is not
exercised.
Carefully holding down the trigger cover plate as shown, remove the Trigger Guard retaining screw and set aside keeping firm pressure on the cover plate meanwhile.
Now, GENTLY allow the cover plate to rise and release the tension on the springs being careful to catch any springs that may adhere to the plate due to dirt or grease. Place the cover plate in a secure location.
The Trigger Group Components

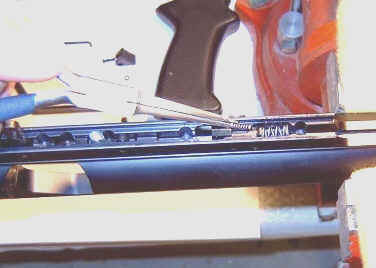
Now carefully remove the 3 Trigger Group springs, the Safety Baulk Return Spring and also the tiny Safety Operating Bar Tensioner Spring (shown here).
Place them in a a secure location and clean the remaining trigger components thoroughly.